Your next step is to complete an electrical assessment. This allows us to plan for a hassle-free installation without the need to make multiple visits to your home. The photo guide below will help you be prepared to take photos of the following for the full installation option:
- Breaker panel(s): 3 photos
- A/C compressor(s) nameplate
- Water heater nameplate
- Pool heater nameplate (if applicable)
See photo examples for the equipment-only option
The assessment will be easiest to complete on your mobile device and could take up to 15 - 20 minutes. We recommend taking all photos before beginning.
- Breaker Panel 1
- Breaker Panel 2
- AC Unit 1
- Water Heater 1
- Pool Heater
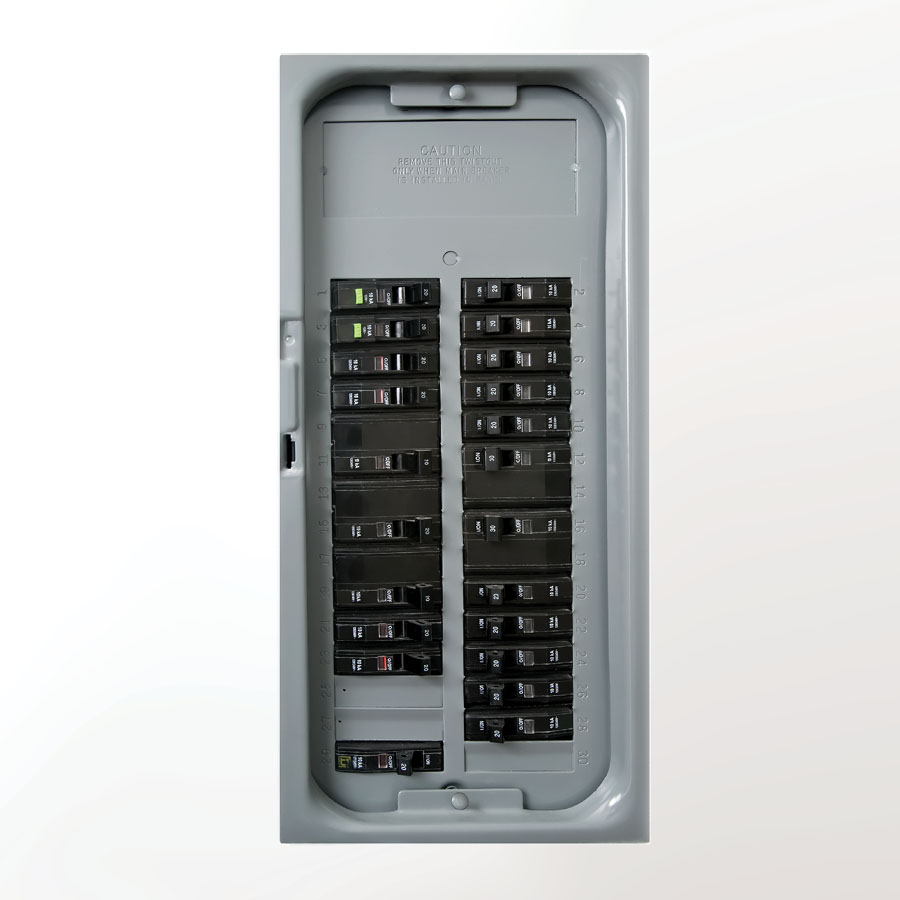
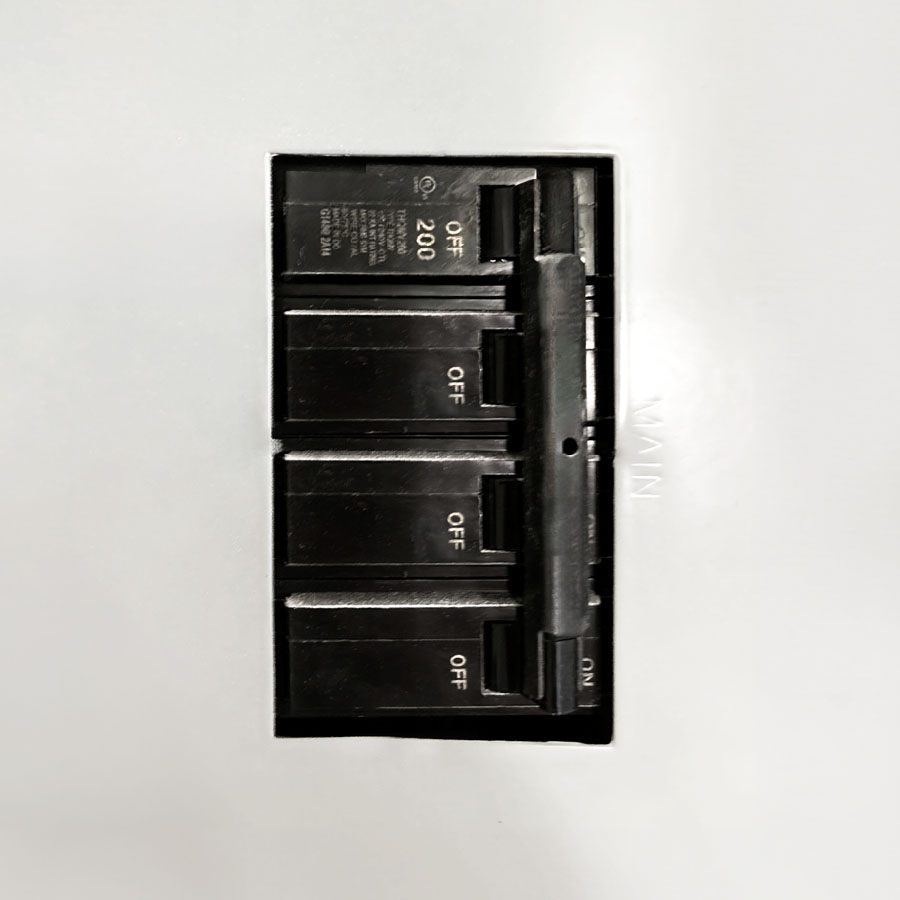
1. Breaker panel and labels in open position.
- Capture the entire breaker panel and corresponding labels
- Ensure all the panel slots are visible and breaker labels are legible
- Contact an electrician to identify any missing breaker labels
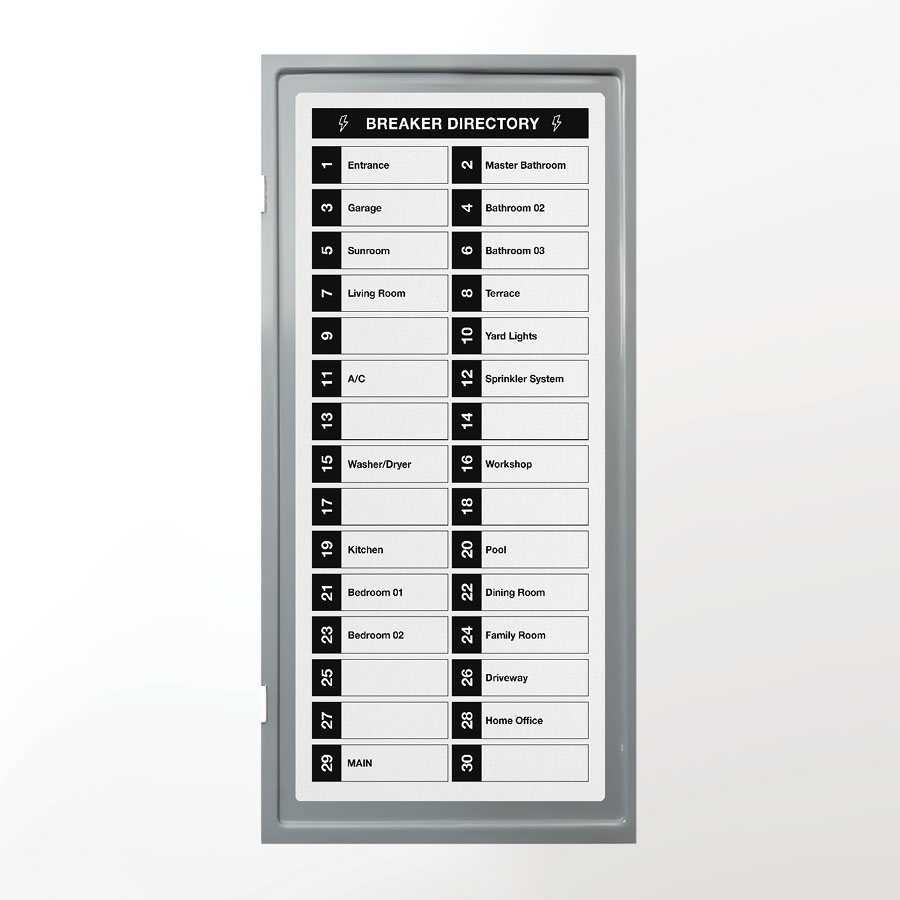
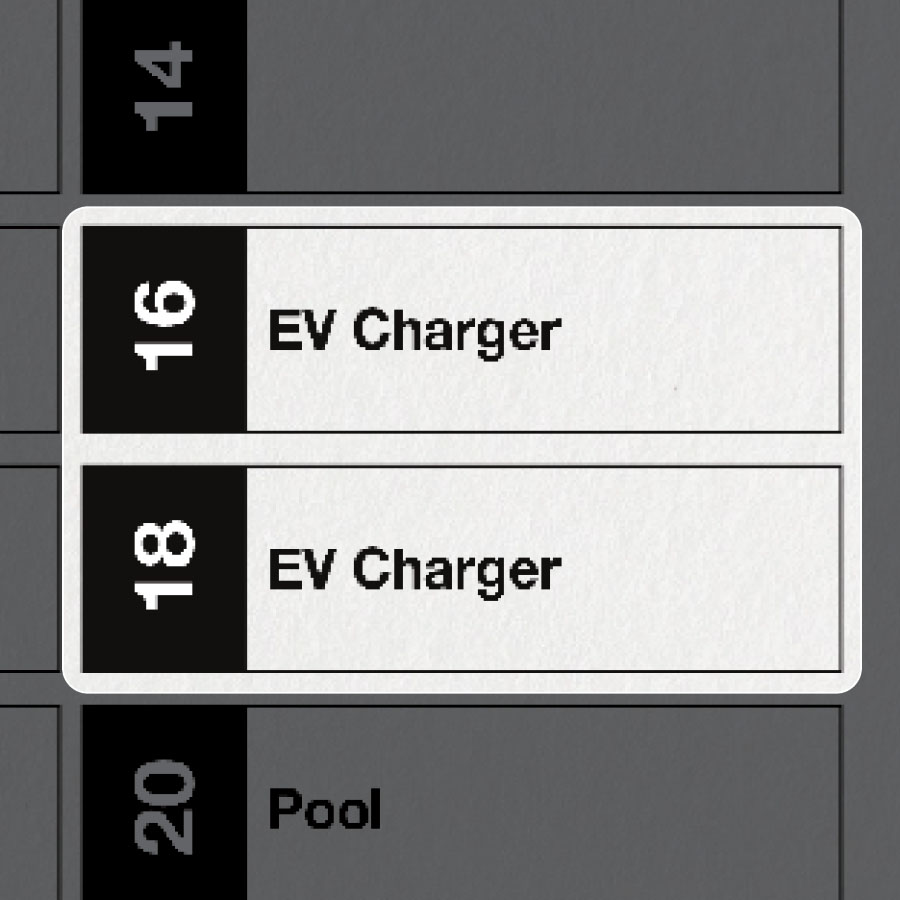
2. Close up photo of the breaker panel labels only.
- Ensure all labels are visible and legible
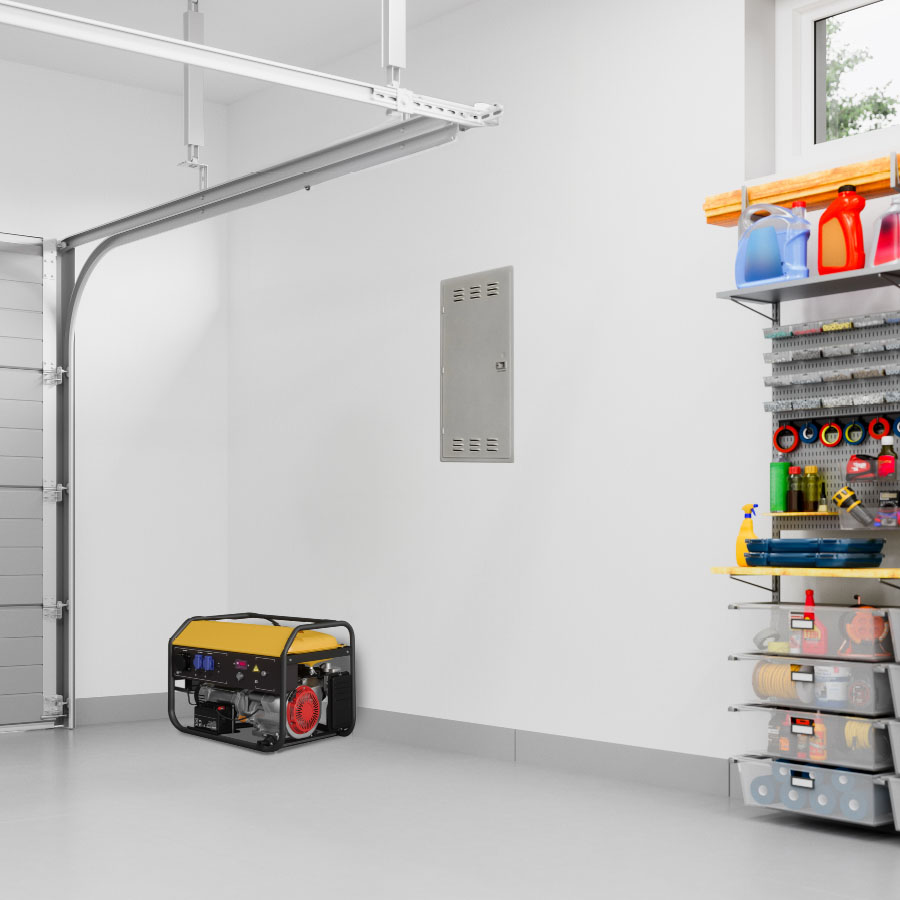
3. Entire wall where breaker panel is located.
- Charger must be installed within 10 feet of breaker panel
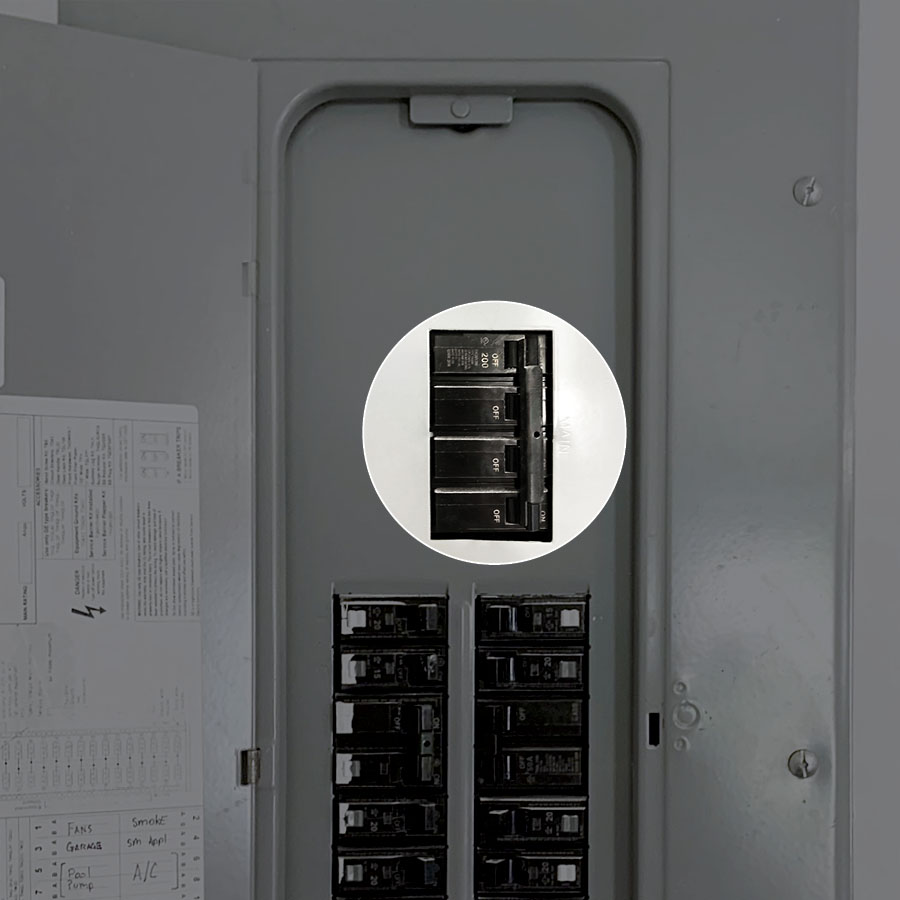
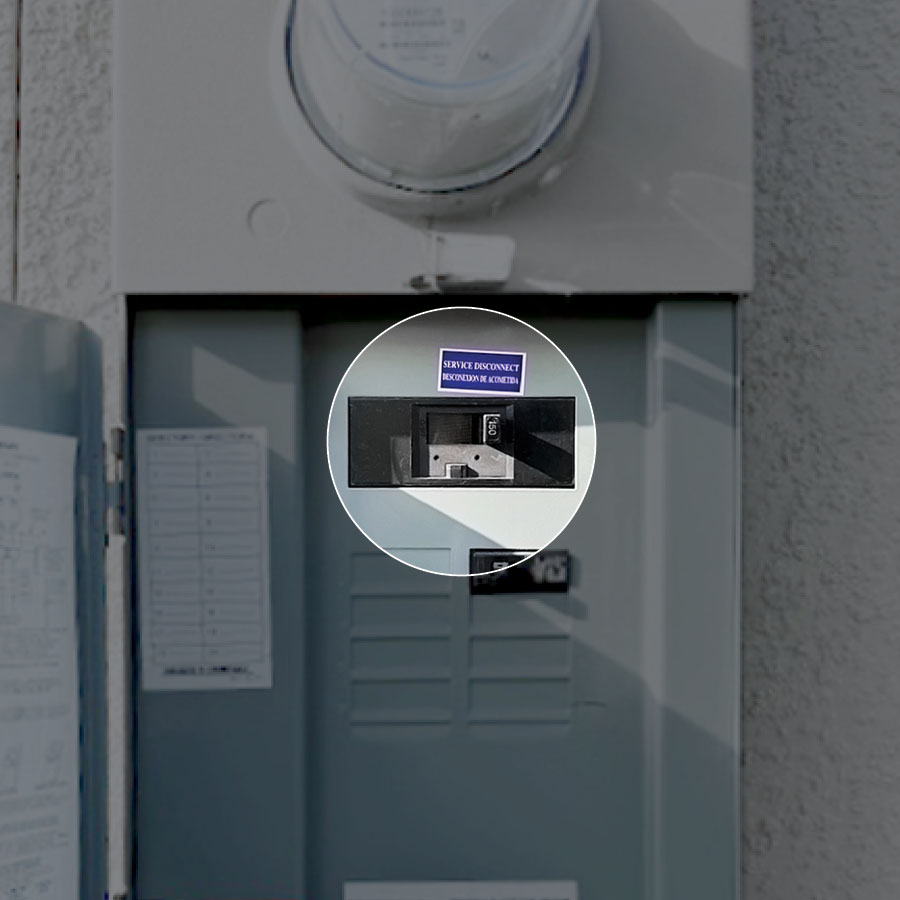
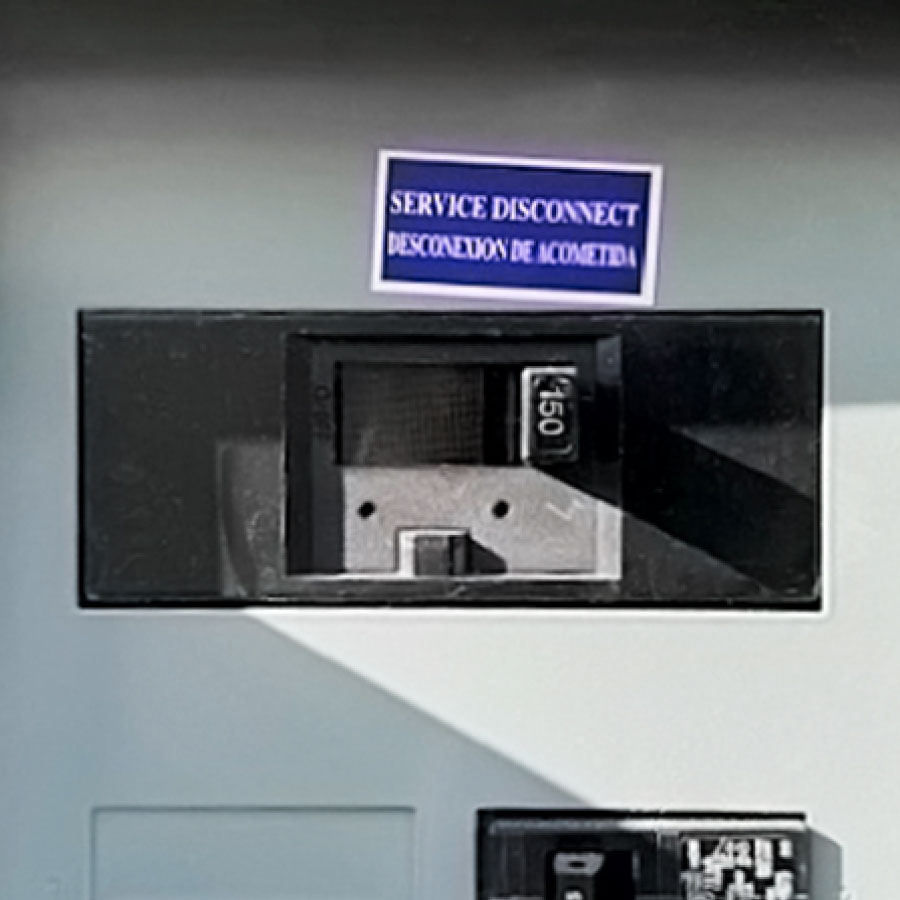
4. Service Disconnect switch with the amperage visible.
The main Service Disconnect switch may be located in one of two places. The amperage can be found on the switch. If you’re having trouble locating it, watch a video to assist you in locating your main Service Disconnect switch.
- Combo meter panel located outside the home: under or beside your utility meter.
- Panel located outside the home: Under your utility meter in a breaker panel.
Panel located outside the home: Under your utility meter in a breaker panel.
1. Breaker panel and labels in open position.
- Capture the entire breaker panel and corresponding labels
- Ensure all the panel slots are visible and breaker labels are legible
- Contact an electrician to identify any missing breaker labels

2. Entire wall where breaker panel is located.
- Charger must be installed within 10 feet of breaker panel

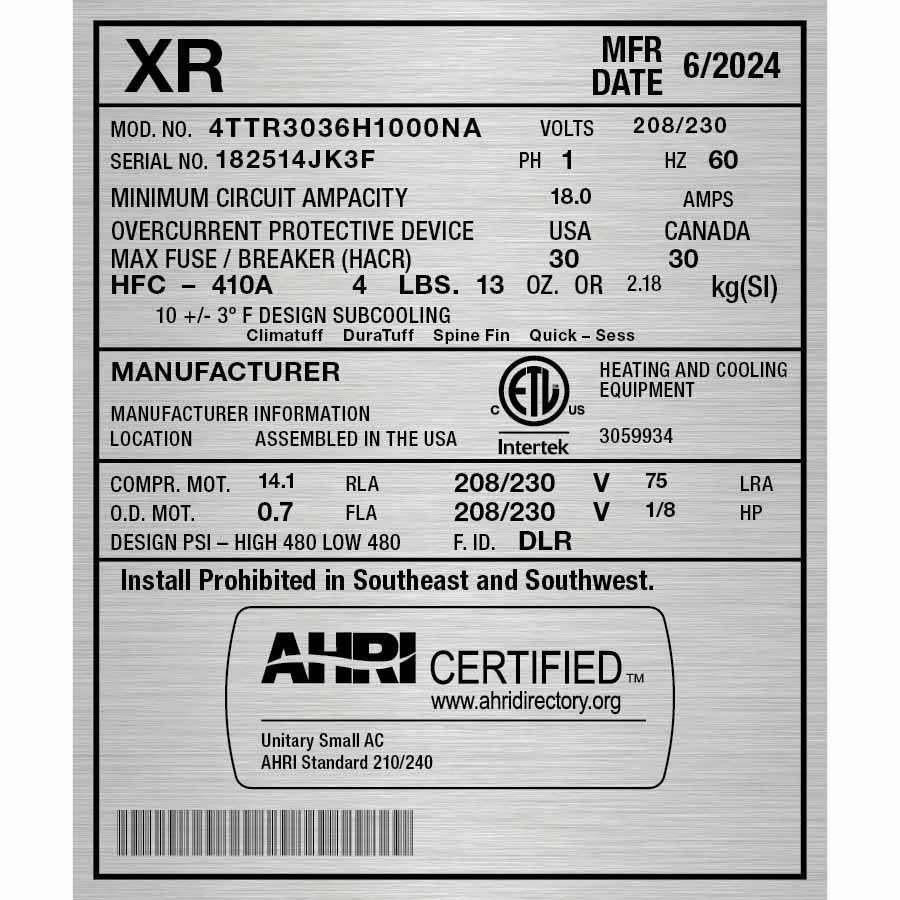
Take a clear photo of each outdoor AC compressor nameplate.
- Capture the entire nameplate
- Ensure all words are crisp and legible

Take a clear photo of your electric water heater nameplate.
- Capture the entire nameplate
- Ensure all words are crisp and legible

Take a clear photo of your pool heater nameplate.
- Capture the entire nameplate
- Ensure all words are crisp and legible
Equipment-only
The photo guide below will help you be prepared to take photos of the following for the equipment-only option:
- EV charger breaker panel switch
- Main breaker panel and amperage
- 240-volt outlet used for existing charger
This assessment will be easiest to complete on your mobile device and could take up to 10 - 15 minutes. We recommend taking all photos before beginning.
- Breaker Panel
- 240-Volt Circuit
Take two clear close-up photos of your panel:
1. Breaker switch for your existing EV charger.
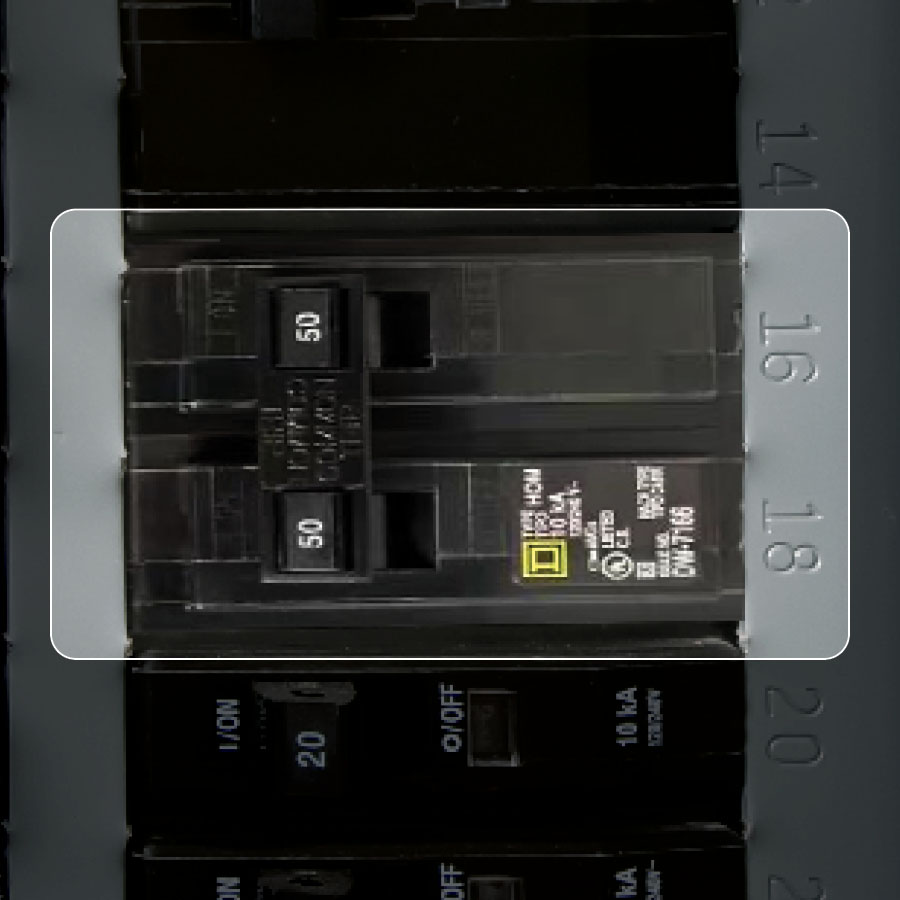
2. Labels that corresponds to your EV charger breaker switch.
Take a clear photo of your 240-volt outlet or existing EV charger, if hardwired, and upload it below. This is where your new FPL charger will be installed.
Capture the 240-volt outlet or hardwired charger plus three (3) feet of surrounding area
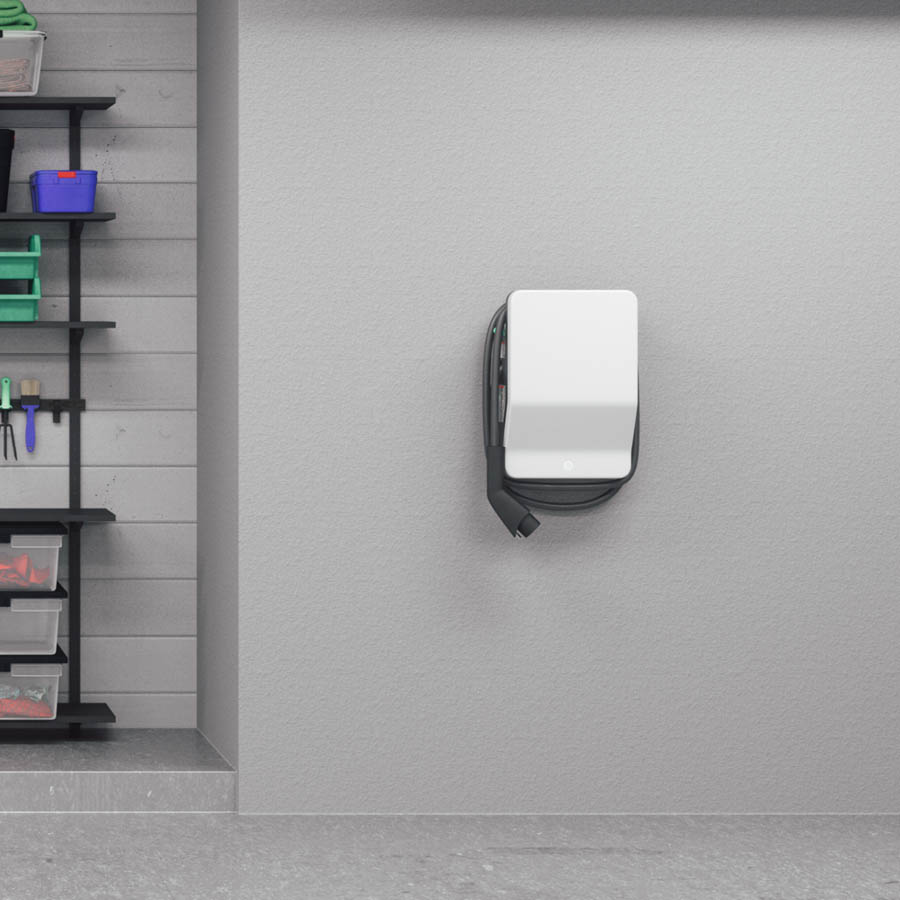
Capture the 240-volt outlet or hardwired charger plus three (3) feet of surrounding area
